Yep, today I am going to teach you how to apply writing to your photos! Yes, you can actually WRITE on your photos. You can even get fancy and change the color, style and size just like you would in an email or a Word Document.
1. - Open the image in Adobe Photoshop -
It really doesn't matter what version or year of Photoshop you have, this will work for all.
2. - Figure out what you want to say -
Did I really need to say that? Ok, probably not but I want to be detailed in everything.
3. - Find the T in your toolbar -
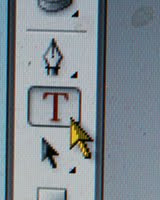
This is your text
4. Start typing!
Ok, now if you start typing and it looks like you have put it in the wrong place, don't worry. You can move it in a minute. Go ahead and type your text.
5. Make your adjustments -
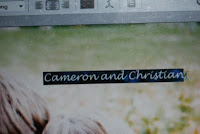
If you would like to make your text bigger, smaller, change the font, etc. you need to start by highlighting your text with your mouse (click and hold, then d
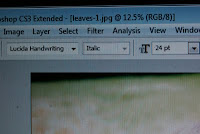 rag over the text). Once you have it highlighted, look up at the top of your screen. You will see several boxes. One will contain the name of the font currently selected, one will show th
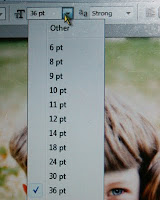 e current point size, and one will give you the option of
 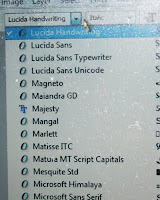 Italic, etc. when available (depending on which font you choose.)
So now you can start playing with your text. While it is highlighted, you can choose from the pull down menu and test which font and size you like. You can also choose whether you would like your text centered or set to the left or right.
Finally, you can click on the small, plus-sign icon. This will give you the option of dragging your text to any point on the page. This way you can place it exactly where you want it.
6. Color it!
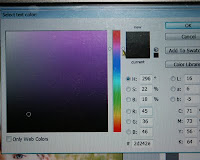
Last but not least, you can change the color of your text. Make sure you have clicked on your text
 t is probably shaded black or white. You can click on this to change the color. When the box of color comes up you can have a little fun picking from a seemingly limitless supply of colors. Once you find the one you like best, click OK and you will see that your text has changed!
Cool, huh!?
Ok, now before we can close out and save your new image we have to do one more thing.
7. Flatten and Save -
You may have noticed the right side of your screen shows a series of "layers." That is because when you add text to your picture, you are a
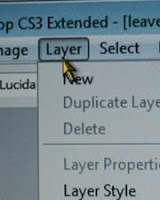 dding a second layer. This is much like writing your text on a clear piece of paper and taping it to the top.
 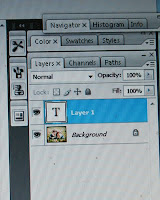 Technically you would have 2 layers, right? Well, before we can save it we have to "flatten" the image. This is how we blend the two layers together to make it one image. All you have to do is click on "Layer" at the top and scroll down to the bottom where you will see "Flatten Image." Click on this and then go ahead and save like you normally would.
* FYI - Be sure you have it where you want it.. Once you flatten your image and save it, there is no going back.
VOILA!! You're done!
Aren't you proud! Now you can show all your friends what you have learned!


No comments:
Post a Comment